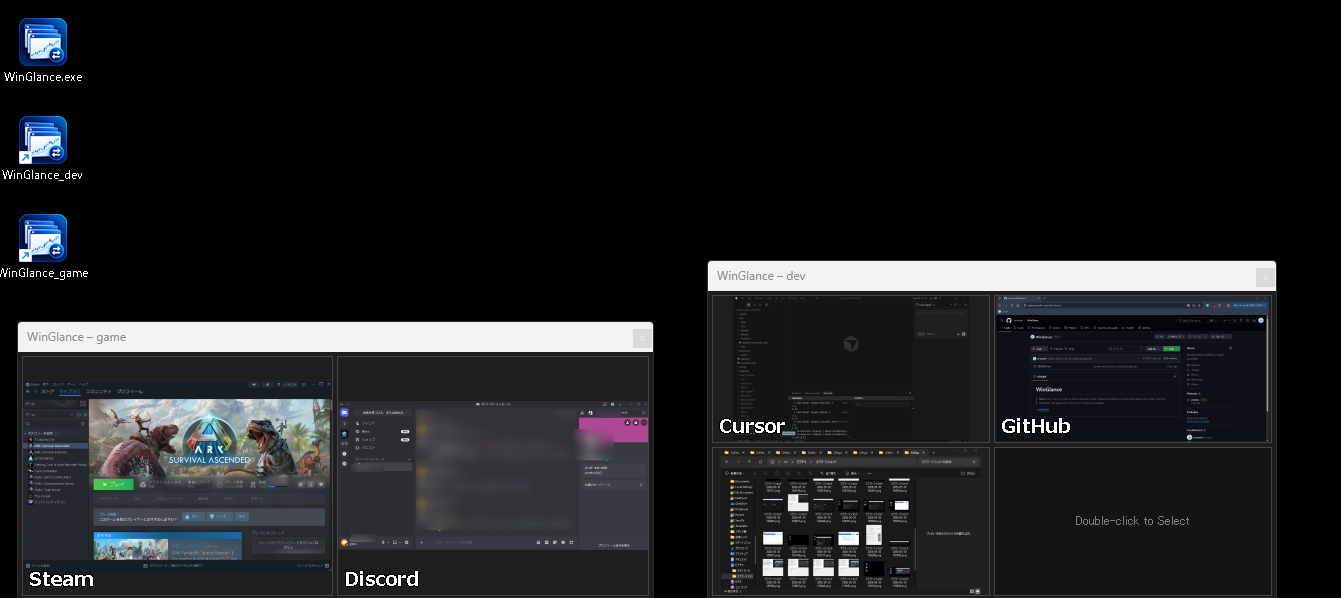
How to Use WinGlance
Download & place anywhere
Download WinGlance.exe and save it wherever you like — your Desktop, a tools folder, anywhere. No installation needed.
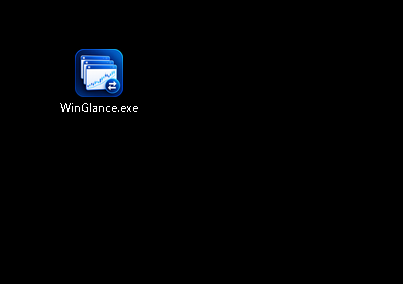
Run it & create a new profile
Double-click WinGlance.exe. The Profile Manager opens. Profiles let you save different window layouts for different purposes (e.g. "Dev", "Game").
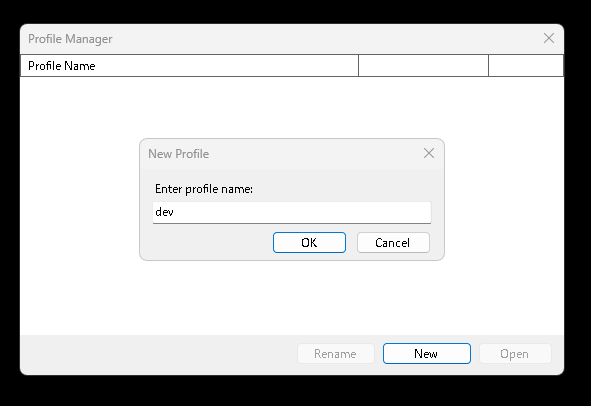
Click New, enter a profile name, and press OK. A desktop shortcut for this profile is created automatically — use it next time to launch directly without going through the Profile Manager.
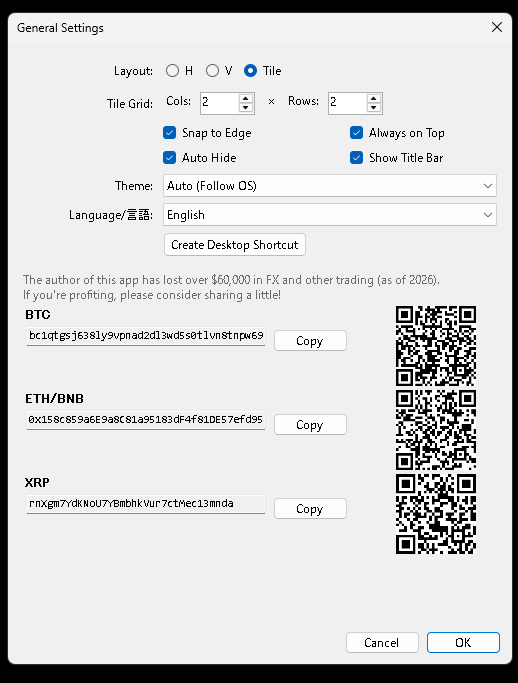
Configure general settings
The General Settings dialog opens automatically for a new profile. Set up your layout here:
| Setting | Description |
|---|---|
| Slot count | Number of window slots to display. |
| Layout | Horizontal, Vertical, or Tile grid. |
| Always on Top | Keep WinGlance floating above all other windows. |
| Auto-hide | Slide WinGlance off-screen when your mouse moves away. Slides back on hover. |
| Snap to edge | Snap the window to the nearest screen edge when dragging. |
The main window appears
Click OK and the WinGlance main window launches with empty slots. Position and resize it however you like — its position is saved automatically.
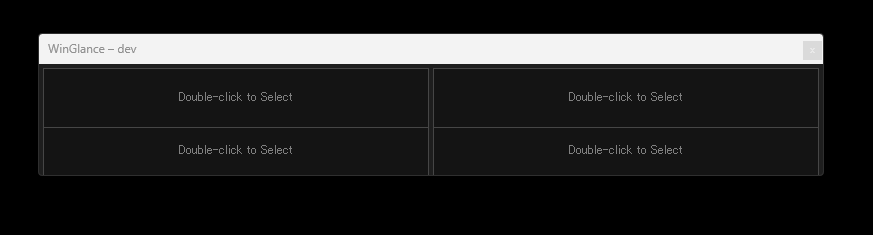
Assign windows to slots
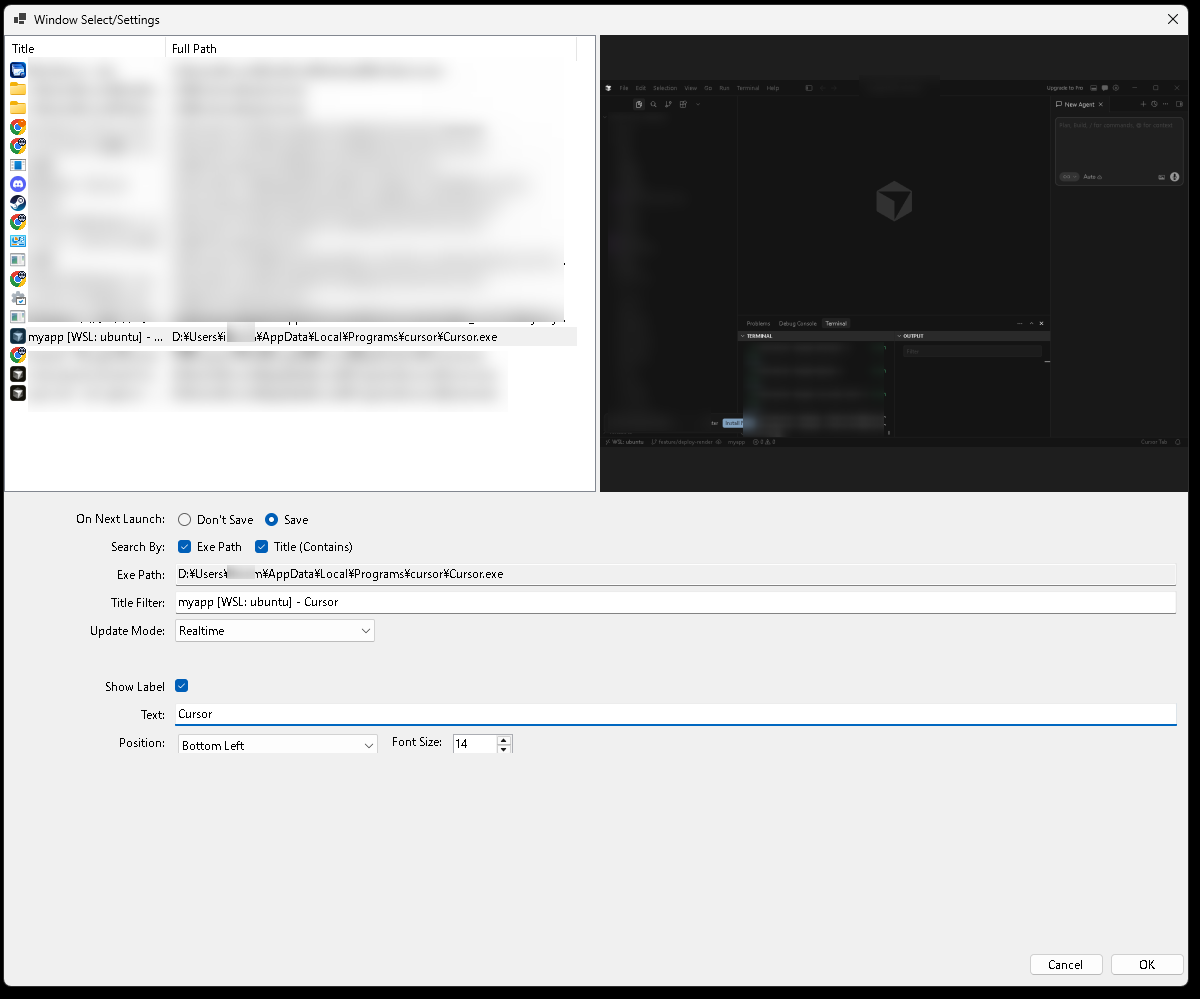
Double-click any slot to open the Window Settings dialog. Select the target window from the list — that's usually all you need. If you want WinGlance to reliably identify the same window next time (e.g. a specific Chrome window among several, or an app like Discord whose executable path changes with each update), adjust the Exe Path or Title Filter as needed.
| Field | Description |
|---|---|
| Exe Path | Full path to the target executable. Supports wildcards: * (any string) and ? (any single character). Example: C:\Users\xxxx\AppData\Local\Discord\app-*\Discord.exe |
| Title Filter | Match by window title (partial match). Also supports * and ?. Leave blank to match any title. |
| Label | Optional label displayed on the slot (e.g. "Discord", "Cursor"). Choose position and font size. |
| Update rate | How often the thumbnail refreshes: Real-time, interval (seconds), on click, or on hover. |
Click OK when done. Repeat for each slot.
You're all set
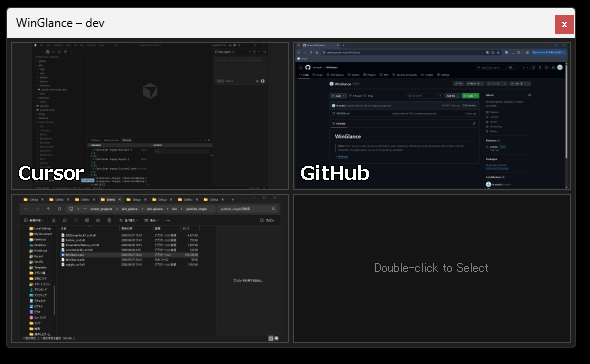
Click any slot to instantly bring that window to the front. Drag and drop slots to reorder them.
If Auto-hide is on, drag WinGlance to a screen edge — it will slide off when your mouse moves away, and slide back when you hover near the edge.
Right-click any slot for a context menu to access General Settings, Profile Manager, and more.
Next time & multiple profiles
A desktop shortcut was created for the profile you just set up. Next time, launch WinGlance from that shortcut — it opens directly with your saved layout, no setup needed.
If you run WinGlance.exe directly instead, the Profile Manager appears. Select a profile and click Open to launch it with the saved settings.
Repeat steps 2–6 to create additional profiles. You can run multiple WinGlance instances at the same time, each with a different profile — handy for different tasks or monitor layouts.